
Table of Contents
- What Is the HubSpot Tickets Tool?
- Ticket Stages: Customizable Solutions to Manage Customer Issues
- 1. New
- 2. Waiting on Us stage
- 3. Waiting on Customer stage
- 4. In Dev stage
- 5. Closed stage
- Anatomy of a HubSpot Ticket
- Ticket Dashboard
- Ticket Record
- Custom Properties
- What Are the Default Ticket Properties?
- 1. Assigned teams
- 2. Business units
- 3. Category
- 4. Close date
- 5. Create date
- 6. Created by user ID
- 7. First agent email response date
- 8. Last activity date
- 9. Last contact date
- 10. Last customer reply date
- 11. Last modified date
- 12. Merged Ticket IDs
- 13. Next activity date
- 14. Number of associated companies
- 15. Number of sales activities
- 16. Number of times contacted
- 17. Originating channel account
- 18. Originating channel type
- 19. Owner
- 20. Owner assigned date
- 21. Owner's central team
- 22. Pipeline
- 23. Priority
- 24. Record ID
- 25. Record Source
- 26. Record Source Detail 1
- 27. Record Source Detail 2
- 28. Record Source Detail 3
- 29. Resolution
- 30. Source
- 31. Ticket description
- 32. Ticket name
- 33. Ticket status
- 34. Time to first respond to SLA due date
- 35. Time to first respond to SLA ticket status
- 36. Time to close
- 37. Time to close SLA due date
- 38. Time to close SLA ticket status
- 39. Time to first agent email reply
- 40. Updated by user ID
- Related Reading
- 5 Benefits of Using HubSpot Tickets
- 1. Easily Accessible Information
- 2. Clear Visual Segmentation and Management
- 3. Platform Consolidation
- 4. Automation
- 5. Reporting
- ChatBees: Support Operations On Steroids
- Related Reading
- How to Set up and Customize Hubspot Tickets
- 1. Create a New Ticket Pipeline
- To do this
- 2. Edit or Delete Ticket Pipelines
- To edit or delete a ticket pipeline
- 3. Add, Edit, or Delete Ticket Statuses in a Pipeline
- To customize the statuses in a pipeline
- 4. Customize Ticket Properties Shown in a Pipeline
- To customize ticket status property shown in a pipeline
- 5. Assign Access to Tickets Based on Team Membership
- To assign access to tickets based on team membership
- Example Uses for HubSpot Tickets
- Service Uses for Tickets: Make Customer Support a Breeze
- Potential Sales Team Uses for Tickets: Support Sales Processes
- Potential Marketing Use for Tickets: Create Better Content
- Tasks vs. Tickets in HubSpot
- HubSpot Tickets: The Backbone of Customer Support
- Using HubSpot Tickets to Manage Customer Support Requests
- HubSpot Tasks: The Automated To-Do List for Business
- How to Use HubSpot Tasks
- Related Reading
- Use ChatBees’ AI Customer Support Software to 10x Customer Support Operations.
Do not index
Consider your business is a well-oiled machine. Suddenly, a machine part breaks down, and it affects your operations. Your customers notice, and to make matters worse, they start complaining. What do you do? You can manage the situation swiftly and efficiently if you have a ticketing system like HubSpot tickets. HubSpot help desk software allow you to create, organize, and solve customer issues efficiently. Our article will explore the value of HubSpot Tickets, how to set them up, and how to customize and use them effectively to boost your team’s productivity and customer satisfaction.
One way to streamline the process of using HubSpot tickets is with AI customer support from ChatBee. With an AI assistant, you can manage customer expectations and solve issues automatically before they reach your team.
What Is the HubSpot Tickets Tool?
Tickets represent requests for help from your customers or users. Something's not working right, and someone needs help. The HubSpot tickets tool allows you to track these customer issues, regardless of whether they came in via phone, email, or live chat. The tickets tool also organizes related notes, documents, and conversations in one place.
Ticket Stages: Customizable Solutions to Manage Customer Issues
Depending on the size of your company, you might have to keep track of many tickets, especially the ones that don’t get resolved immediately. The ticket stages feature can show you at a glance what stage each ticket is in. Here’s an example of how a customer service agent might use ticket stages:
In this example, the process is divided into five stages:
1. New
When a customer files a ticket and hasn’t gotten an initial response, the ticket, which can be automatically created, lives in the first stage: New.
2. Waiting on Us stage
Once a customer service agent contacts the customer, if the agent needs to do more work before reaching back out to the customer, the ticket can be moved to the Waiting on Us stage.
3. Waiting on Customer stage
If the customer service agent has reached out to the customer but the customer needs to do a little digging before coming back to the agent, the ticket can be moved to the Waiting on Customer stage.
4. In Dev stage
If the customer service agent decides the ticket needs to be triaged to another team, it will go to the In Dev stage, where customer service agents can (@) mention other folks directly on the ticket. By (@) mentioning people on a ticket, the customer service agent can send notes to colleagues without leaving the ticket screen.
5. Closed stage
Finally, when the ticket is resolved, the customer service agent can move the ticket to the Closed stage.
Keep in mind that there's no one-size-fits-all approach to using ticket stages; the stages are entirely customizable.
Anatomy of a HubSpot Ticket
Understanding the structure of a HubSpot ticket is crucial for effective management. Here’s a breakdown:
Ticket Dashboard
Like the Sales Hub, the ticket dashboard lets you view tickets in a list or board format. You can sort and filter tickets by date, stage, owner, and priority criteria.
Ticket Record
The customizable left sidebar displays vital information for each ticket record. The middle column logs activities and the right column highlights ticket associations.
Custom Properties
You can create custom ticket properties, ensuring users provide necessary information through dropdown fields or other inputs.
What Are the Default Ticket Properties?
.jpg?id=d172b866-d480-4c94-ba5e-48e418044b3c)
HubSpot assigns several default properties to tickets that capture the details needed to create a new ticket. These properties help categorize and organize tickets efficiently so that you can manage customer issues and inquiries effectively. Here are these default properties and how they can help your business:
1. Assigned teams
This property identifies the central team assigned to the ticket, including any additional teams that may be involved. When a ticket is created, it is automatically assigned to a team based on preset rules. This helps categorize tickets so that the right people can manage them.
2. Business units
This property identifies the business unit associated with the ticket. This is especially helpful for organizations with multiple business units or product lines.
3. Category
This property lets you specify the main reason a customer contacted for help. This ticket property helps you organize and filter tickets based on the type of issue reported.
4. Close date
This date is marked as the day the ticket was closed. HubSpot automatically updates the close date when a ticket is moved from an open status to a closed status.
5. Create date
This is the date the ticket was created.
6. Created by user ID
This property captures the user who created the ticket. HubSpot automatically sets this value.
7. First agent email response date
This date marks the first response from an agent. HubSpot automatically sets this date when a user replies to an email associated with the ticket.
8. Last activity date
This date marks the last time a note, call, email, or other activity associated with the ticket was logged on the ticket record. HubSpot automatically updates this date when a new activity is logged.
9. Last contact date
This is the last time an email, call, or meeting was logged on the ticket.
10. Last customer reply date
This data captures the last customer response.
11. Last modified date
This date captures the last time any property on the ticket was modified.
12. Merged Ticket IDs
This property captures the record IDs of tickets merged into the ticket record. HubSpot automatically sets this value once a ticket merge is completed.
13. Next activity date
This date marks the next upcoming activity for a ticket. HubSpot automatically sets this based on user action.
14. Number of associated companies
This property captures the number of companies related to the ticket. HubSpot updates this value automatically.
15. Number of sales activities
This property captures the total number of sales activities logged for a ticket. Sales activities include calls, emails, meetings, notes, tasks, and messages. HubSpot automatically updates this value based on the number of applicable activities on the record.
16. Number of times contacted
This property captures the total number of activities associated with the ticket. HubSpot automatically updates this value based on the number of applicable activities on the record.
17. Originating channel account
This property identifies the specific name or number of the HubSpot channel associated with the ticket.
18. Originating channel type
This property captures the kind of connected channel associated with the ticket (e.g., chat, form, Facebook Messenger, etc.).
19. Owner
This property identifies the ticket owner. If you have automatic assignment rules in the conversations inbox, the ticket owner will be the same as the conversation owner. You can assign additional users to the ticket record by creating a custom HubSpot user field type property.
20. Owner assigned date
This property captures the most recent timestamp of when an owner was assigned to the ticket. HubSpot automatically sets this value.
21. Owner's central team
This property identifies the ticket owner's leading team. HubSpot automatically sets this value.
22. Pipeline
This property captures the pipeline that contains this ticket.
23. Priority
This property identifies the level of attention needed on the ticket.
24. Record ID
This is the ticket's unique identifier. HubSpot automatically sets this value, which can be used when updating tickets through importing or API.
25. Record Source
This property captures how the ticket was created. HubSpot automatically sets this value.
26. Record Source Detail 1
This property identifies the first level of detail when creating the ticket. HubSpot automatically sets this value.
27. Record Source Detail 2
This property identifies the second level of detail when creating the ticket. HubSpot automatically sets this value.
28. Record Source Detail 3
This property identifies the third level of detail on how the ticket was created. HubSpot automatically sets this value.
29. Resolution
This property captures the action taken to resolve the ticket.
30. Source
This property identifies the channel where the ticket was initially submitted.
31. Ticket description
This property captures the full description of the ticket issue.
32. Ticket name
This property captures the summary of the ticket.
33. Ticket status
This property identifies the pipeline stage that contains this ticket.
34. Time to first respond to SLA due date
This date marks when the ticket must have its first response to meet the SLA. This property will only appear if you've set SLAs in the inbox.
35. Time to first respond to SLA ticket status
This property captures the ticket's status based on the SLA for the first response to a ticket. This property will only appear if you've set SLAs in the inbox.
36. Time to close
This property captures the time between when the ticket was created and closed.
37. Time to close SLA due date
This date marks when the ticket must be closed to meet the SLA. This property will only appear if you've set SLAs in the inbox.
38. Time to close SLA ticket status
This property captures the ticket's status based on the SLA for closing it. It will only appear if you've set SLAs in the inbox.
39. Time to first agent email reply
This property captures the time between the created ticket and the first agent's reply. HubSpot automatically sets this value.
40. Updated by user ID
This property captures the user who last updated the ticket. HubSpot automatically sets this value.
Related Reading
5 Benefits of Using HubSpot Tickets

1. Easily Accessible Information
One of the primary advantages of HubSpot Tickets is that it effortlessly provides reps with the information they need to solve customer issues. When a ticket is opened, it is a mini version of a contact record within your CRM. This means that when using an individual ticket, all of the data on the associated contact record and company is just a click away.
Your reps can see the relevant information needed to solve the issues the ticket was opened for quickly and efficiently. They can also add tasks and notes inside of that ticket as they work toward solving the problem. This can help track follow-up communications, similar to how a sales rep would annotate a contact record in your CRM. Once a ticket is closed, it’s logged on that contact record in your CRM. This allows it to be referred to by employees across your company in case related issues emerge.
2. Clear Visual Segmentation and Management
HubSpot Tickets provide precise visual segmentation so that everything runs smoothly. A ticketing system will ensure none of your customers fall through the cracks. It takes a massive task, managing your customers’ phone calls and emails, and makes it documentable, manageable, reportable, and scalable. The second benefit of HubSpot Tickets is the organization they provide to your success or service team and your entire company.
Your tickets live in pipelines inside of HubSpot. A pipeline operates much like a deal in HubSpot. You can create a different pipeline for each rep or team depending on how your company functions. The best part about tickets? Each pipeline can be displayed as a list or as a kanban board. If you use the Kanban-style board, your ticket status will be reflected at the top of each column. Using the Kanban-style board will allow you to drag and drop each ticket into different columns. This will change the ticket status automatically. You can filter the list or board based on the ticket owner, giving even more visibility into their workload for your customer success or service reps.
For instance, if you are setting up your customer service team’s pipeline, their three stages of tickets may be new, status pending, and completed. If you are using tickets for your customer success team, each team member may have their pipeline for their portfolio, and the ticket status and columns may be labeled at-risk, reactive, proactive, and partner. These features will help your reps stay organized and keep track of their tasks and customers, ensuring they get the best experience and service possible.
3. Platform Consolidation
If your company already uses HubSpot, adding the Service Hub and Tickets to your package will add another layer of synchronization among your marketing, sales, and service teams—especially if you are currently using a third-party ticketing software but your sales or marketing teams are already on HubSpot.
Your service or support reps will operate inside the Tickets tab. Still, all information stored on each ticket record is copied onto the overall contact record inside your HubSpot CRM. This means more connected data, easier hand-offs, and better integrations company-wide. It will also make reporting easier since your entire customer experience, from marketing to sales to service, operates on the same platform.
4. Automation
You can use workflows to auto-generate tickets when your customers or your reps take specific actions. You can even round-robin the ticket assignee to a team if it’s a new inquiry or send it straight to that contact’s owner. For instance, if you have a Contact Us form on your site and want to route all submissions to your service team, you can automatically create a ticket upon submission and assign that ticket to the appropriate rep or team. That ticket will auto-create and appear in the designated “‘to do” or “new” column on the pipeline's screen.
You can also automate the status of a ticket to change once your reps send or receive an email. This function can go in two directions. If you use the drop-down feature inside an open ticket to change the status, the ticket object automatically jumps to the correct column. For instance, if I hit “close” inside of an open ticket when I return to my ticket board view, the ticket will be moved to the closed column on the right. Alternatively, I can drag and drop the entire ticket into the closed column from the board view, and it will automatically change the ticket status to closed.
Using HubSpot’s live chat or chatbot feature, you can auto-create tickets from there. You can build it into your chat flow when users select specific options like “I need a quote” or “I have X issue.” It will copy over all the information from the conversation so it’s passed on to the appropriate rep. The ticket will appear on their ticket board or list as new. This eliminates the need for reps to go to multiple locations to retrieve inquiries, ensuring no emails or inquiries get forgotten and saving them time.
5. Reporting
One of the main reasons you may want to use tickets is to improve the functionality and organization of your customer service or support team’s time. If you are using HubSpot Tickets, you can now access all kinds of reports and analytics to help you improve how your teams operate and the experience your customers have with your brand. You can access a few standard out-of-the-box reports in the reports library, including average ticket response time, ticket totals over time, and tickets closed by rep.
You can also create custom properties on tickets and use those to build custom reports. For instance, you could use a property to signify a specific type of customer or issue and then run a report to see how long it takes that type of issue to close. This may help you identify issues among product groups or types of customers that you didn’t know we had. The reporting function gives incredible transparency to your customer success managers and support reps to measure their efforts and make improvements along the way. It takes actions like replying to emails that seem small and hard to track, making them reportable and measurable.
ChatBees: Support Operations On Steroids
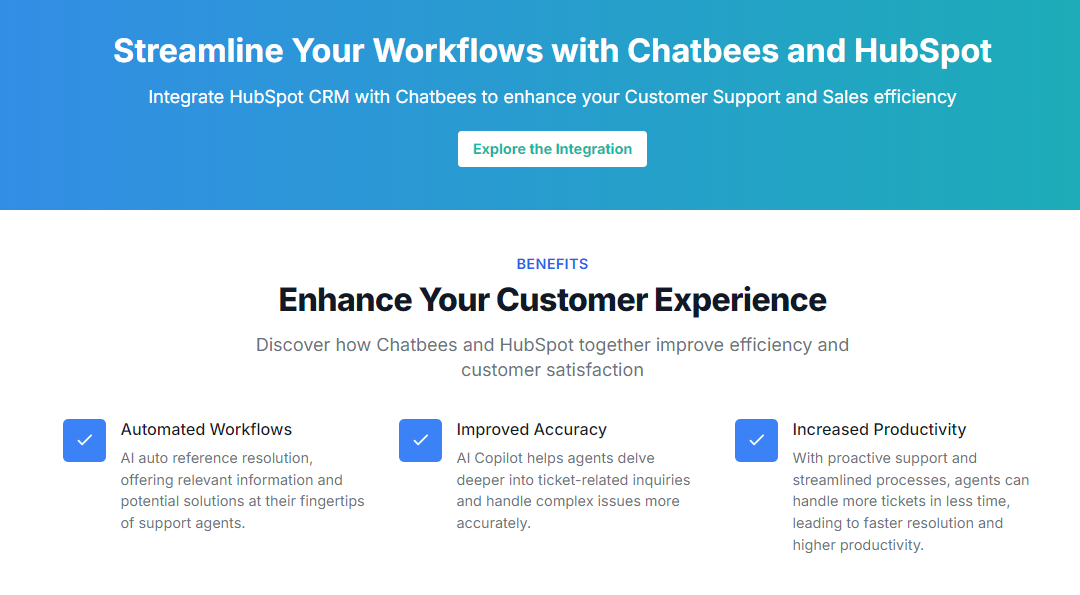
ChatBees optimizes RAG for internal operations like customer support, employee support, etc., with our AI customer support software. This software provides the most accurate response and easily integrates into workflows in a low-code, no-code manner. ChatBees' agentic framework automatically chooses the best strategy to improve the quality of responses for these use cases. This improves predictability/accuracy, enabling these operations teams to handle more queries. No DevOps is required to deploy and maintain the service.
Try our AI customer support software today to 10x your customer support operations. Get started for free, with no credit card required. Sign in with Google and get started on your journey with us today!
Related Reading
How to Set up and Customize Hubspot Tickets
.jpg?id=81d67e84-b908-47d7-b4fe-0c0890449f50)
1. Create a New Ticket Pipeline
Creating a new ticket pipeline in HubSpot is straightforward.
To do this
1. In your HubSpot account, click the settings icon in the top navigation bar.
2. In the left sidebar menu, navigate to Objects > Tickets.
3. Click the Pipelines tab.
4. Click the Select a pipeline dropdown menu, then Create pipeline.
5. In the dialog box, enter a Pipeline name and click Create.
2. Edit or Delete Ticket Pipelines
You can rename your pipeline or reorder and delete multiple ticket pipelines. Users in a Service Hub Professional or Enterprise subscription account can also manage who has access to a pipeline.
To edit or delete a ticket pipeline
1. In your HubSpot account, click the settings icon in the top navigation bar.
2. In the left sidebar menu, navigate to Objects > Tickets.
3. Click the Pipelines tab.
4. Click the Select a pipeline dropdown menu, then select a pipeline.
5. On the right, click the Actions dropdown menu and select one of the following:
- Rename this pipeline: change the pipeline’s name. In the dialog box, enter the new name, then click Rename.
- Reorder pipelines: To change the order of your pipelines, click a pipeline in the pop-up box and drag it to a new position. When all pipelines are in the desired order, click Save.
- Manage access: if you're a super admin, manage which users can view and edit the pipeline (Service Hub Professional or Enterprise only).
- Delete this pipeline: delete the pipeline. You can't delete a pipeline if it contains tickets. You'll need to delete or move tickets to another pipeline before deleting the pipeline.
3. Add, Edit, or Delete Ticket Statuses in a Pipeline
You can use ticket statuses to track the progress of your tickets within a pipeline. By default, HubSpot includes a support pipeline with four ticket statuses: New, Waiting on contact, Waiting on us, and Closed. You can also add your statuses or edit and delete existing statuses.
To customize the statuses in a pipeline
1. In your HubSpot account, click the settings icon in the top navigation bar.
2. In the left sidebar menu, navigate to Objects > Tickets.
3. Click the Pipelines tab.
4. Click the Select a pipeline dropdown menu, then select a pipeline to edit.
5. To add a new ticket status:
- Under the existing ticket statuses, click + Add status.
- Enter a ticket status name, click the dropdown menu in the Open or closed column, and select whether the ticket status should set a ticket as Open or Closed. There must be at least one Open and one Closed status.
6. To change the name of an existing ticket status, click the status' name, then enter a new name in the text box.
7. To reorder a ticket status, click the ticket status and drag it to a new position.
8. To view the internal name for a ticket status, hover over the status and click the code icon—integrations and the API use this name.
9. To delete a ticket status, hover over the status and click Delete. If there are tickets in the status you're deleting, you'll need to move these existing tickets to another status. To do this in bulk, navigate to the tickets index page, and in list view, bulk edit the Ticket Status property.
10. To edit the properties shown when a ticket moves to a certain status, hover over the Update status properties column and click Edit properties.
11. Once you've finished editing your statuses, in the bottom left, click Save.
4. Customize Ticket Properties Shown in a Pipeline
You can also customize which ticket properties are presented to users when manually moving a ticket to a specific status. Users must have Edit property settings permissions to customize ticket status properties.
To customize ticket status property shown in a pipeline
1. Navigate to the pipeline you want to edit.
2. hover over the Conditional stage properties column in the status row and click Edit properties.
3. In the dialog box, select the checkboxes next to any new properties you want to appear.
4. To require a value for a property, select the checkbox in the Required column. When a property is needed, users won’t be able to create a ticket in that status unless they enter a value for that property.
5. To reorder the properties, click and drag them to a new position.
6. To remove a selected property, click the X next to that property in the Selected Properties column.
7. Once you've selected your properties, click Next. The properties you've selected will automatically appear when manually creating a new ticket in that status or when moving an existing ticket to that status.
5. Assign Access to Tickets Based on Team Membership
Regardless of your HubSpot subscription, you can update an individual user's ticket access. However, suppose your account has a Professional or Enterprise subscription, and your pipeline includes tickets assigned to multiple teams. In that case, you can configure ticket access so that users can only access tickets assigned to themselves or team members. This means multiple teams can share a pipeline without affecting the tickets assigned to other teams.
To assign access to tickets based on team membership
1. In your HubSpot account, click the settings icon in the top navigation bar.
2. In the left panel, navigate to Users & Teams.
3. To edit an individual user's permissions, click a user's name on the desired team. To edit multiple users' permissions, select the checkboxes next to their names. If the users aren't yet on a team, learn how to create and add users to a team.
4. Click Edit permissions.
5. In the right panel, navigate to the CRM tab.
6. In the Tickets row, set the user's view permissions to Team only, then clear the Unassigned checkbox. This will automatically update the edit and delete permissions.
7. Click Save. The user(s) must log out and back in for the permissions to take effect.
With these permissions, the users can now only view, edit, or delete tickets where they or another user on their team are the owners. If a user is on multiple teams, they can access tickets assigned to any of their teams.
Example Uses for HubSpot Tickets
.jpg?id=b1a6b2b4-386b-4ba7-a6a3-620859c5362b)
Service Uses for Tickets: Make Customer Support a Breeze
HubSpot Tickets are beneficial for customer service teams. When customers reach out for support—especially if they are experiencing issues with your product or service—you can automatically create a ticket from their email. This helps you log the problem, assign it to a team member, and track its progress until resolution. The ticketing system helps organize customer support inquiries to make the process smoother and more efficient for customers and your support team.
Potential Sales Team Uses for Tickets: Support Sales Processes
HubSpot Tickets aren’t only valid for customer service teams. Sales teams can also use the ticketing system to help them manage inquiries from prospects. For instance, if a prospect has a question about a product or service that the sales rep can’t answer, the sales rep can create a ticket from the prospect’s contact record, assign it to a member of the support team, and track the ticket’s progress until it’s resolved. Once the ticket is resolved, the support team can communicate with the sales rep to provide an answer to the prospect.
Potential Marketing Use for Tickets: Create Better Content
Marketers can also benefit from HubSpot Tickets. By analyzing which types of tickets are created most frequently, your marketing team can better understand what issues customers are facing and create content to address those concerns. For example, if you notice many tickets are being developed for troubleshooting a particular issue, you can make a blog post or FAQ entry to help users solve the problem. This not only helps your customers, but it can also improve your SEO by targeting relevant search queries.
Tasks vs. Tickets in HubSpot

HubSpot Tickets: The Backbone of Customer Support
HubSpot tickets are customer support requests tracked through HubSpot's Service Hub. Each ticket acts as a record of all interactions between a customer and your company. Tickets include information like the date, time, and type of request, as well as any attachments or notes.
HubSpot users can manually create a ticket by navigating to the Service Hub and clicking “Create Ticket.”
However, you can also create workflows so HubSpot customers can create tickets in a few different ways, such as:
- By emailing your support address
- By filling out a contact form on your website
- By calling your support number
Once a ticket is created, it's automatically assigned to a member of your team. You can then use the HubSpot Tickets tool to manage and track the progress of each request.
Depending on your business, a ticket could be used for various service requests. They are handy for companies that sell software. However, they can be used in almost any instance where a customer needs to inquire about or resolve a problem with your company.
Using HubSpot Tickets to Manage Customer Support Requests
Let's say you own a SaaS company that sells software to small businesses. Your customer base is growing, and you're starting to get more support requests. You decide to use HubSpot Tickets to keep track of all these requests.
Now, whenever a customer has a question or issues with your software, they can create a Ticket. This Ticket will be automatically assigned to a member of your support team. The support team can then use the HubSpot Tickets tool to manage and track the progress of each request.
This enables SaaS companies to identify bugs in their software as customers use it. It can also reveal improvement opportunities, as some customers may use the system to make requests.
Overall, this system enables you to resolve customer issues quickly and efficiently, which is essential for keeping your customers happy.
HubSpot Tasks: The Automated To-Do List for Business
HubSpot Tasks must be completed within HubSpot, such as creating a new contact or updating a deal. They can be assigned to specific people and given deadlines. HubSpot Tasks can also be recurring, meaning they'll reappear on your to-do list after completion.
They're different from Tickets in that they generally aren't created by customers and may not be directly related to customer inquiries or customer service requests. However, you can automatically generate tasks through automated workflows, including HubSpot's Ticket system.
HubSpot Tasks are a great way to keep track of things that need to be done within HubSpot, especially if you have many moving parts in your HubSpot account. They can help ensure that nothing falls through the cracks, and they can help you hit deadlines. Plus, tasks can save you time in the long run since they can be recurring.
How to Use HubSpot Tasks
Tasks can be used to manage almost any process in HubSpot. For example, consider how you might use HubSpot tasks to onboard a new hire.
When you add a new hire to HubSpot, you can create a task for their onboarding. This task can be assigned to their manager or another team member responsible for onboarding. The task can include all necessary information, such as what needs to be done and when it's due.
HubSpot Tasks can also be created as queues if you have a long employee onboarding process. These can be a great way to keep track of everything that needs to be done.
You can create a task for each step of the onboarding process and assign it to the appropriate person. Then, you can use the HubSpot task dashboard to see who is responsible for each task and when it is due. This can help you keep track of the onboarding process and ensure everything is getting done.
HubSpot tasks can also be used for other types of long-term projects. For example, if you are working on a website redesign, you can create a task for each process step and assign it to the appropriate person. This can help you keep track of the project and ensure it is progressing as planned. HubSpot tasks are a great way to keep track of any type of long-term project.
Related Reading
Use ChatBees’ AI Customer Support Software to 10x Customer Support Operations.
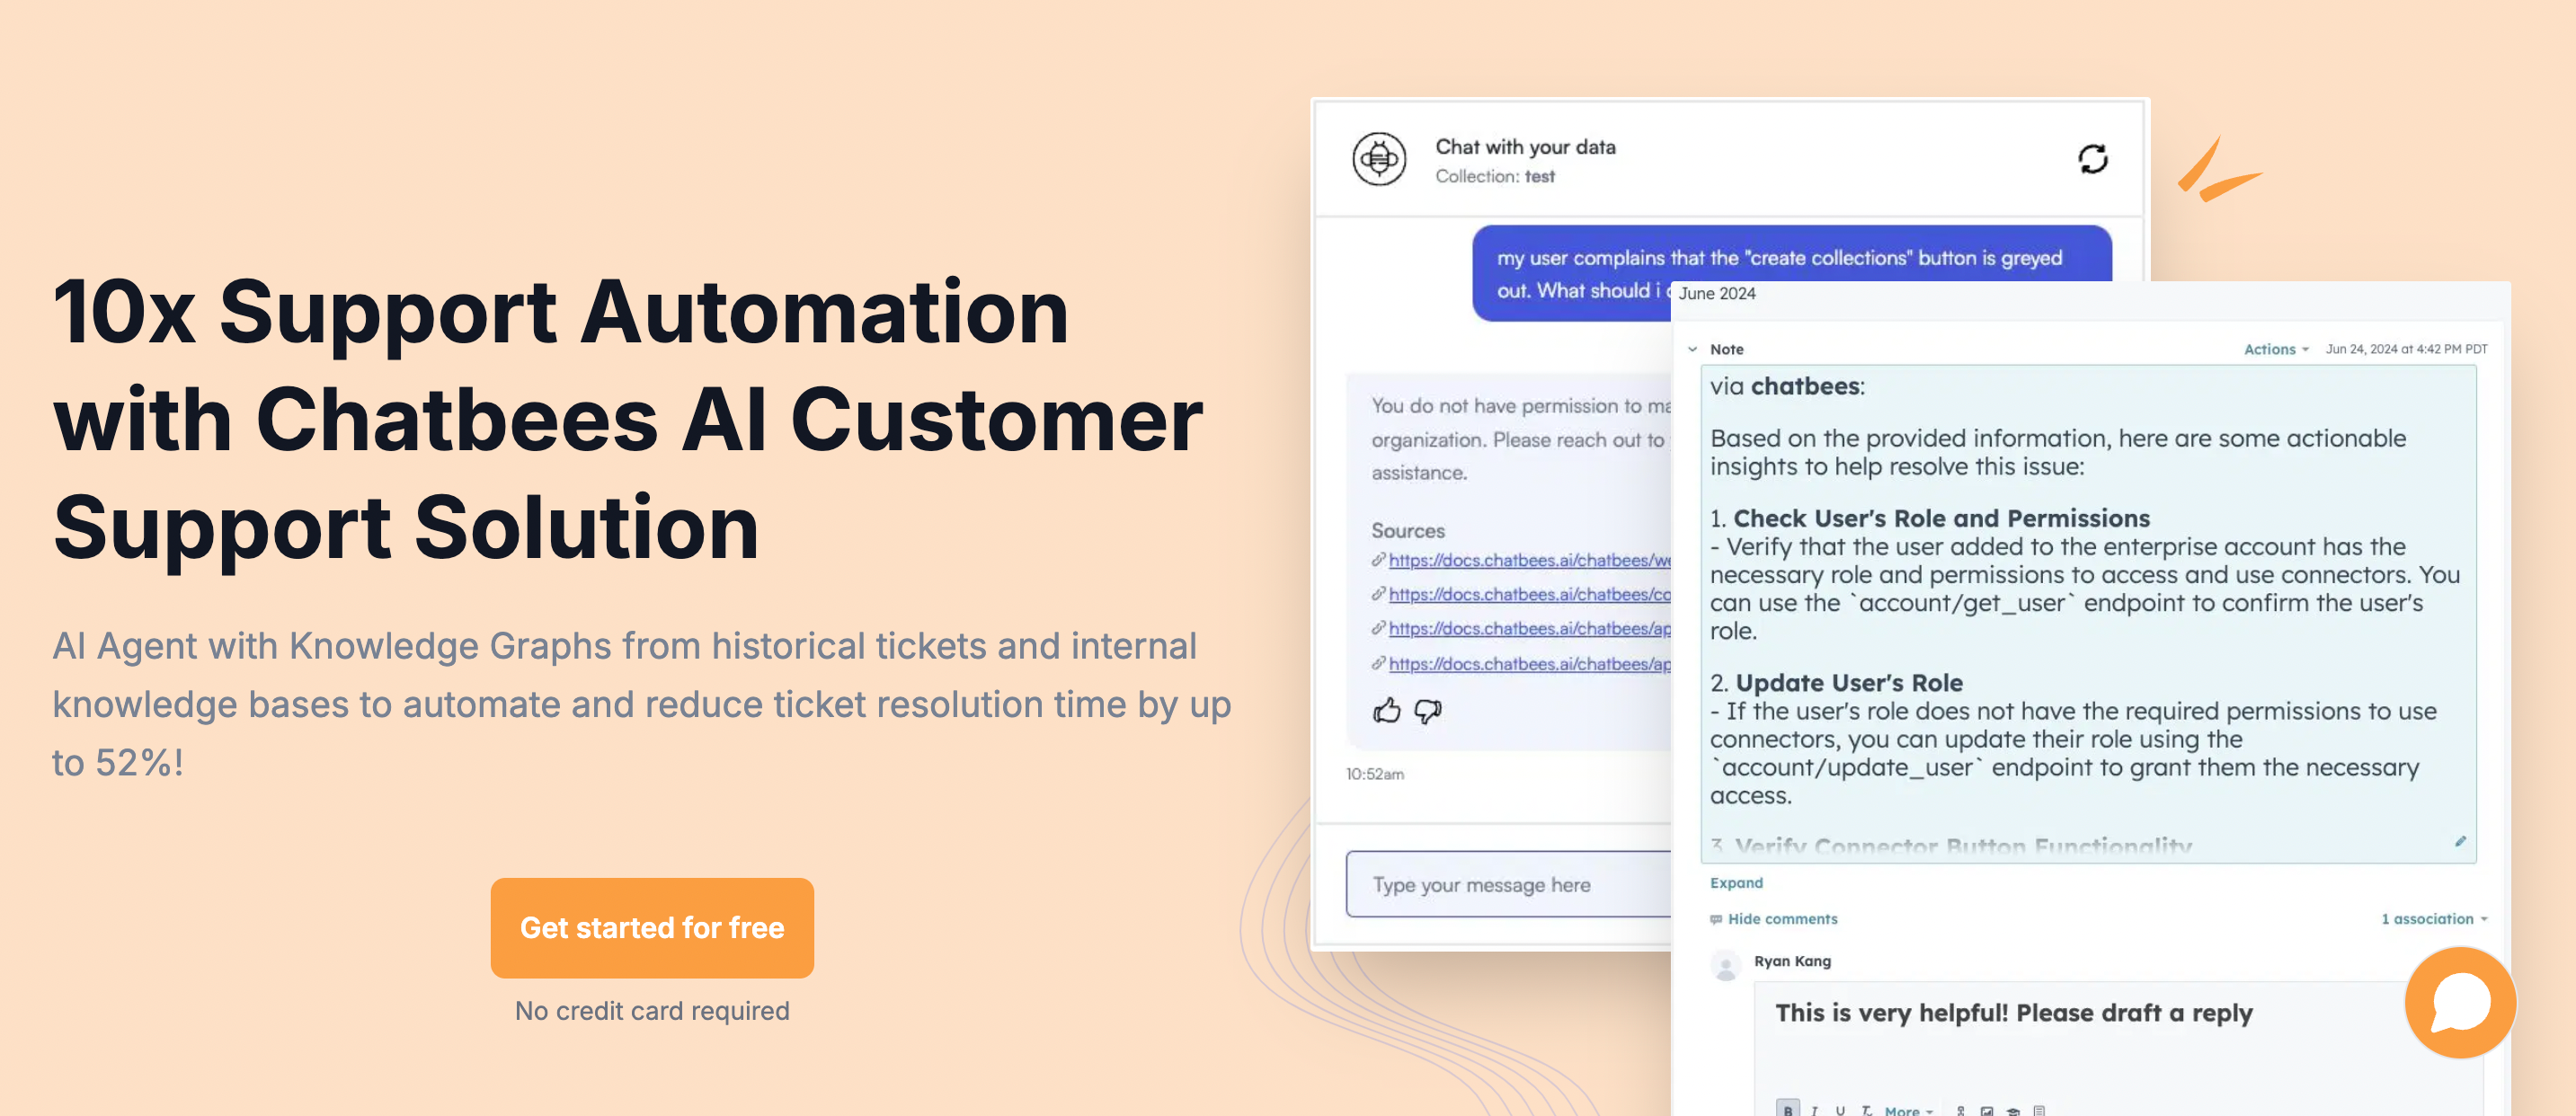
ChatBees optimizes RAG for internal operations like customer support, employee support, etc. with our AI customer support software, which has the most accurate response and easily integrates into their workflows in a low-code, no-code manner. ChatBees' agentic framework automatically chooses the best strategy to improve the quality of responses for these use cases. This improves predictability/accuracy, enabling these operations teams to handle a higher volume of queries. No DevOps is required to deploy and maintain the service.
Try our AI customer support software today to 10x your customer support operations. Get started for free, with no credit card required. Sign in with Google and start your journey with us today!